You can buy a brooder, or you can set one up in one of several DIY arrangements. There are advantages & disadvantages to all brooder setups. Choose the one that works best for your budget and your home. Quality Feed & Garden Company has everything you need to get set up right away.
A simple DIY enclosure
If you only have a handful of chicks, the simplest DIY brooder is a converted plastic tote. They are inexpensive, easy to modify, and easy to clean. Chicks need about ½ sq ft of space each during their first two weeks of life. A 30-gallon tote is sufficient space for 6 chicks with a feeder and waterer.
After two weeks the chicks can be stepped up to a larger tote, a play pen, or a pet exercise pen. Whatever you choose, make sure it is easy to clean since it will need daily attention.
The enclosure does not have to have a top, but the sides must be tall enough to prevent the chicks from jumping out. You will be surprised how active and mischievous they can be. Make sure there is lots of ventilation no matter which style of top you choose.
Another reason for a top is to insure that they are safe from predators of all kinds. A sheet of hardware cloth will discourage the household cat or dog, but it will take a locking lid to keep out snakes and rodents.
We have seen brooders set up in cardboard boxes. They are free and they are disposable, but they can easily become soggy which isn’t good for the chicks or the floor beneath the brooder. If you use a cardboard box, you have to be especially cautious with your heating device. It’s probably best to avoid cardboard if you can.
Check out our Pinterest page for ideas for DIY brooders.
Heat
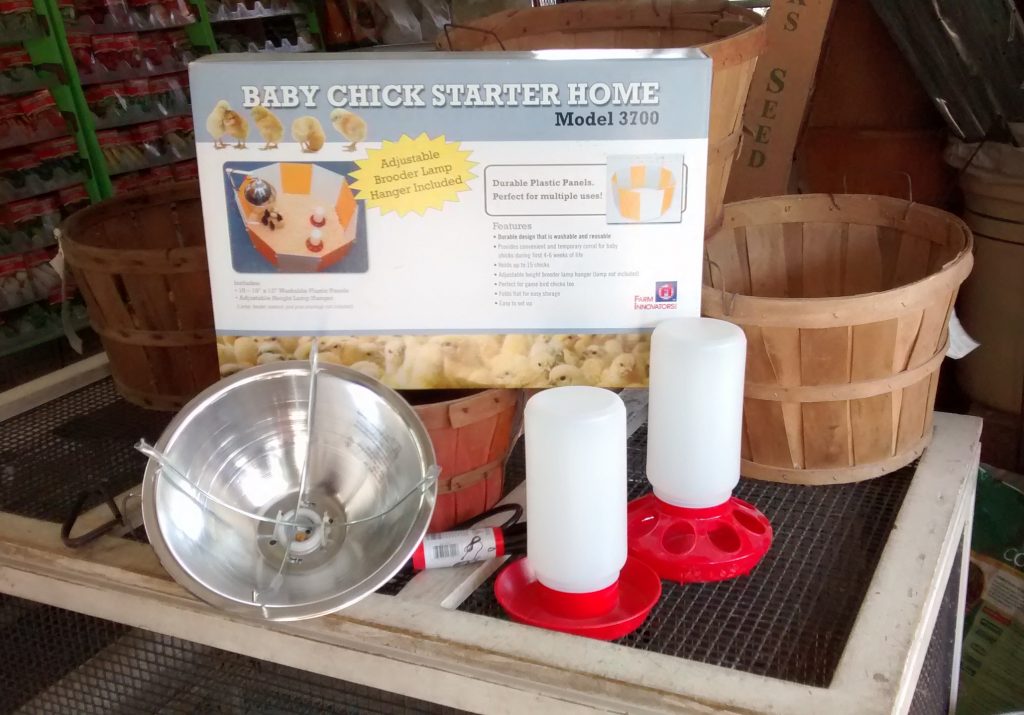
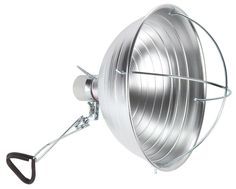 The simplest way to provide heat is a simple clamp-on heat lamp with a wire cage guard. Or you can use an electric panel heater designed specifically for brooders. Whatever heating device is used, safety must be first and foremost.
If you use a clamp-on lamp, make sure it is secured well. We do not want to start a fire, and it would be disastrous if it fell in on the chicks.
Check temperature with a thermometer
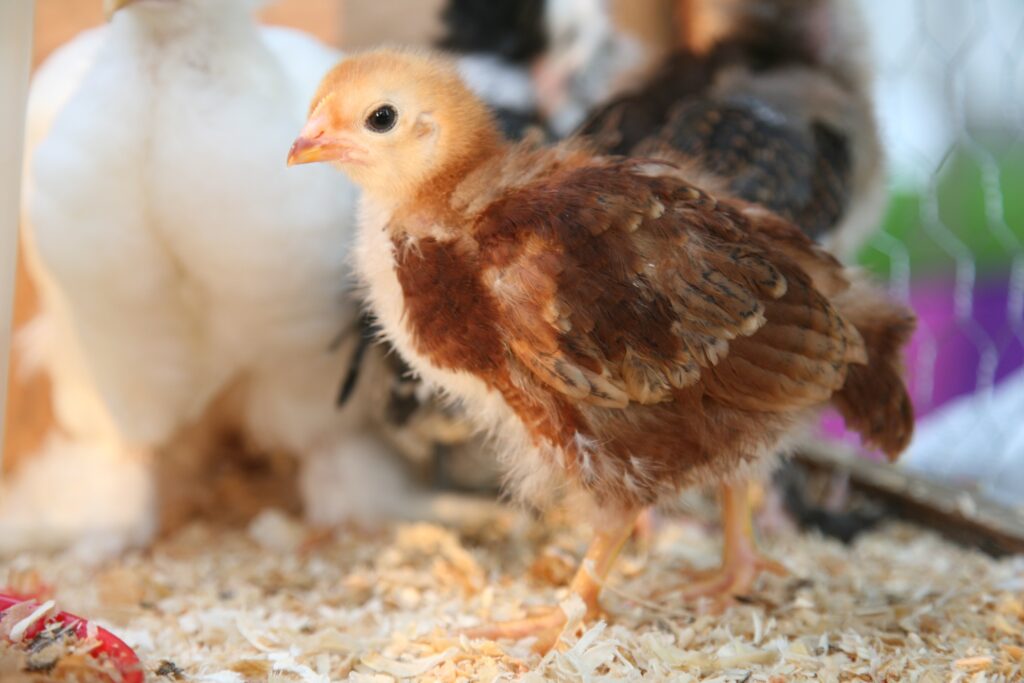
You will need a thermometer that hangs at chick level. The chicks will need 95°F for the first week. Decrease heat by 5°F each week until the temperature is equal to the ambient temperature. By that time, your chicks will have fully feathered out and should be comfortable on their own unless it is very cool. If the weather is not cooperating, you may need to provide a little heat when they first go to the coop.
The thermometer is only part of the story. Watch your chicks. Their behavior will tell you if they have sufficient heat. If they are staying tightly clustered together right under the light and are making distressed sounding chirps, they are probably too cold. Lower the lamp a little or add another light.
If the chicks are getting as far as they can away from the heat source, or are panting and standing with their beaks open, they are probably too hot. Raise the lamp. If the issue is still not resolved, you may have to move them to a larger enclosure where heat is dissipated better.
Comfortable chicks will be walking around chirping contentedly, dipping their beaks in the water, pecking at their food, or sleeping in a relaxed huddle. Check on your chicks several times a day to make sure they are comfortable.
Liners/Litter
Chicks are champion poopers! They are also messy with their food and water. It is important that you use an absorbent material to cover the floor of the brooder and that you clean the brooder as often as necessary to keep your chicks in sanitary conditions.
The flooring material you use depends a bit on how many chicks you have. If you have only a few chicks, you can use paper towels. You will need to change them every day to keep the brooder clean and dry. They are inexpensive and easy to change out when they become soiled.
You can also use a sheet of burlap or woven plastic shelf liner. Prepare several sheets of these materials. When one sheet becomes soiled, exchange it for a new sheet. Rinse the soiled sheet out and let it dry so you can rotate the sheets out during the next cleanings.
To further absorb moisture, place several layers of newspaper sheets under the flooring material. Do not use flat sheets of newspaper as a liner alone. It is slippery when wet or soiled and can cause a condition called spraddle leg (or splayed leg). But it works very well under the sheet materials that provide better footing.
There are several other types of bedding that people have used, but each one of them presents an issue that can affect the health of your chicks. Avoid using:
- Wood shavings – they can lead to respiratory issues in chicks.
- Sawdust – chicks will peck at it, and it can lead to impacted crops.
- Hay – it often has dust and molds that can cause health issues.
- Sand – it can hold moisture and raise humidity in the brooder. It’s also nearly impossible to clean which will lead to bacterial growth.
If you are still inclined to use bedding, pine straw or well-dried lawn clippings are better choices.
Waterers
Chicks need fresh, clean water available 24 hours a day. Make sure the waterer you choose holds enough water to supply the chicks without any interruption between fillings. A standard plastic chick waterer is the best choice. You may need to raise it as your chicks become more active and begin to kick bits of their bedding into the basin as they scratch about.
Feeders
Choose a feeder that is suited for chicks from day old until they are ready to be placed in the coop. The type of feed they need will change a bit as they mature from chicks to pullets. You may also want to add a second feeder or dish to provide chick grit or treats.