

Onions are easy to grow in Houston, and garden fresh onions are just the best! They are a good source of anti-oxidants and anti-inflammatory compounds. Here are a few growing tips.
- Buy “short day” varieties only. Intermediate and long day varieties will not bulb successfully because our days are never long enough to trigger bulb formation.
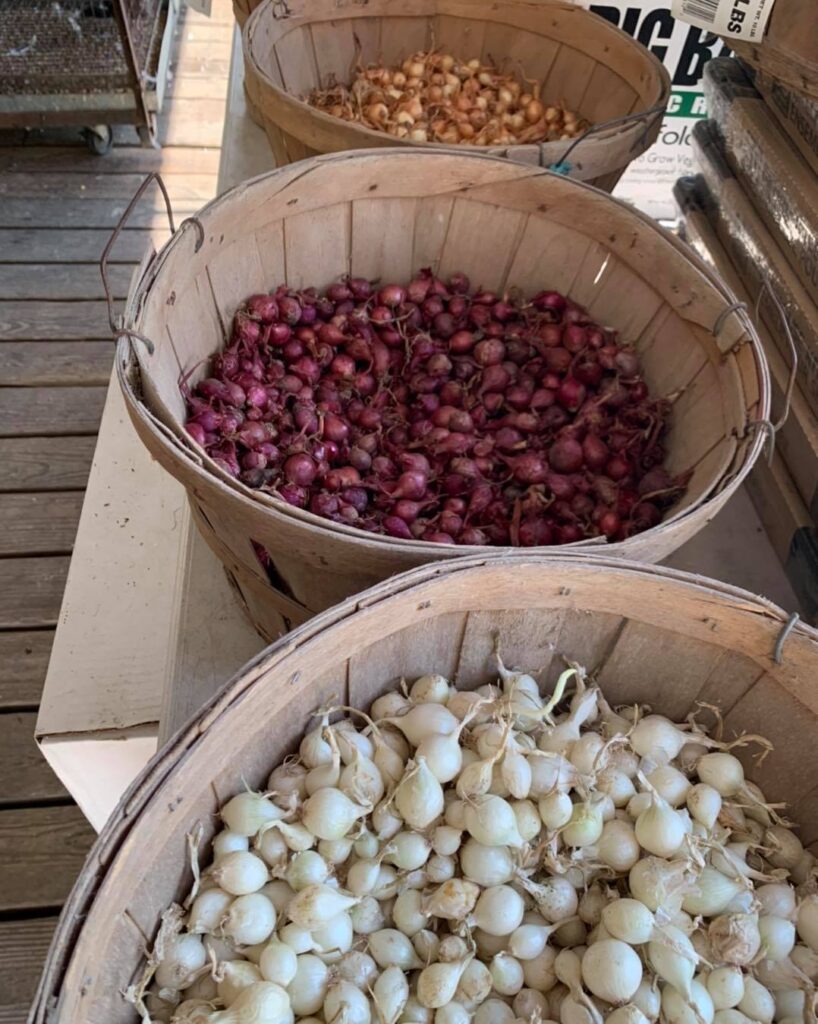
- Choose seeds, seedlings, or sets, depending on time of year. Seeds can be started indoors in September for the fall & winter garden & again in January for spring planting. Seedlings & sets (small bulbs) can be planted in Oct/Nov and again in Jan/Feb.
- Onions like a well-drained, loose, fertile soil. Prepare the soil 8″ – 12″ deep. Add 1/3 compost by volume to garden soil. If drainage is a concern, work in 2” of expanded shale. Raised beds and large containers are suitable for onions.
- Onions are not heavy feeders. Start with ½ cup of slow release organic fertilizer and 1-Tbls of Texas greensand per square foot. Side dress the seedlings with ¼ cup of fertilizer per square foot three weeks after planting, again when they are 8” tall, and one last time when they are beginning to bulb.
- Snip the bands or twine holding the bundle together. If the roots were not trimmed by the grower, or if you grew them from seed yourself, trim the roots to 1/2″ long. Trim the tops so that the seedlings are all 4″ – 6″ tall. This will help keep them from being top heavy when they are planted.
- Presoak the seedlings in a small bowl with just enough water to cover the roots, no more. You can do this the night before planting, no longer.
- Onions should be spaced 4″ – 6″ apart for full sized bulbs. You can plant them as close as 2″ apart if every other one will be harvested as a spring onion, leaving the remainder to bulb fully. Square Foot Garden spacing is 9/per square for bulbs and 16/per square for spring onions.
- Plant the base of the seedling 1″ – 1.1/2″ deep into prepared soil. Make sure the youngest leaf is not buried. For row planting, make a furrow, space the seedlings, and pull the soil back over them in the row. If planting in wide beds or square foot beds, use a dibble to make holes, set the seedling in the hole and press the soil around the roots. A wooden pencil makes a great dibble.
- Water well after planting. Keep the soil evenly moist until the onions are making new growth. Reduce watering to once a week unless there is sufficient rainfall. Onions prefer well-drained soils and even moisture, but should never be water-logged.
- Keep the onion bed free of weeds. Mulch before weeds appear. Do not cultivate deeply as you may damage the roots or bulb. Watch for disease or pests.
- Harvest onions at pencil size for “green onions” 25 – 30 days after planting. Harvest “spring onions” (small bulbs) 60 – 90 days after planting. For bulb or “storage” onions, wait until the leaves begin to yellow and fall over naturally. Harvest within a month of yellowing.
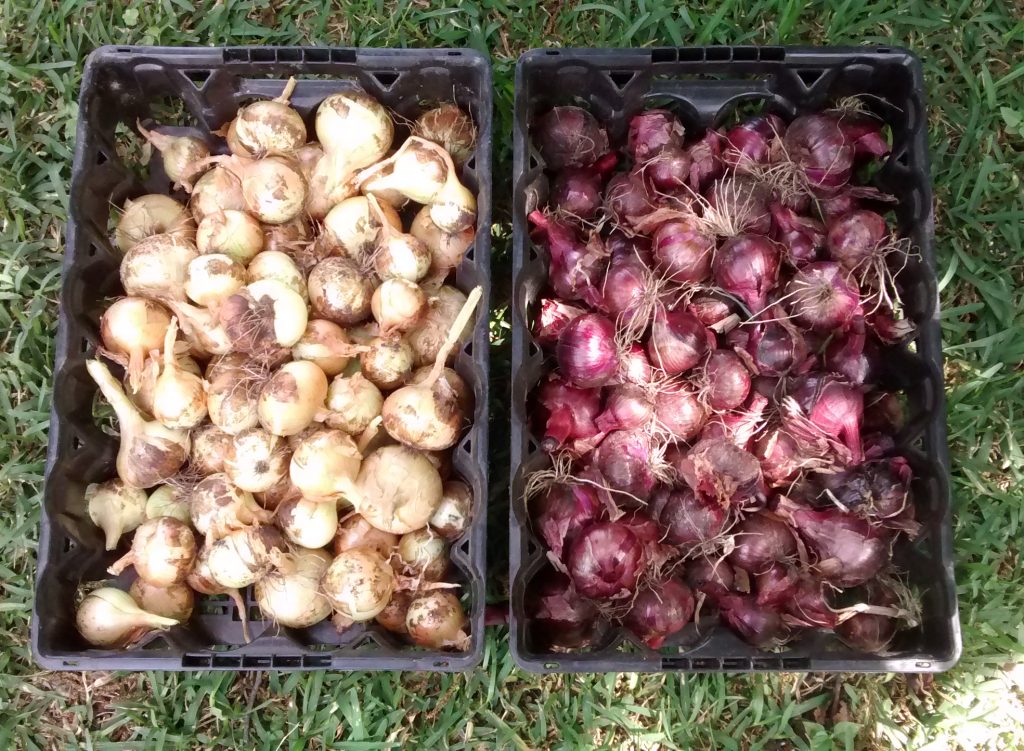
- Dig or pull the onions on a dry, sunny day. Lay the freshly dug onions out in a sunny place to stop the roots from growing and start the curing process. After a day or so, spread the onions out in a dry, shady location and allow them to dry until their skins rattle. This can take 2 – 3 weeks. A shady porch or garage floor covered with paper is a good location. It is not necessary to trim the leaves, but if you wish to do so, leave at least 1″ so the onion will seal itself off at the top. Use any onions with damaged or soft spots first. Store cured onions in the refrigerator for the longest storage.
Thrips are occasionally a problem with onions. Light row covers for prevention of thrips is the most effective control. If you observe thrips damage, use an organic garden spray labeled for use on edible plants. Onion fly feeds on the roots at the larval stage. You can manage this pest with crop rotation and by using beneficial nematodes.